
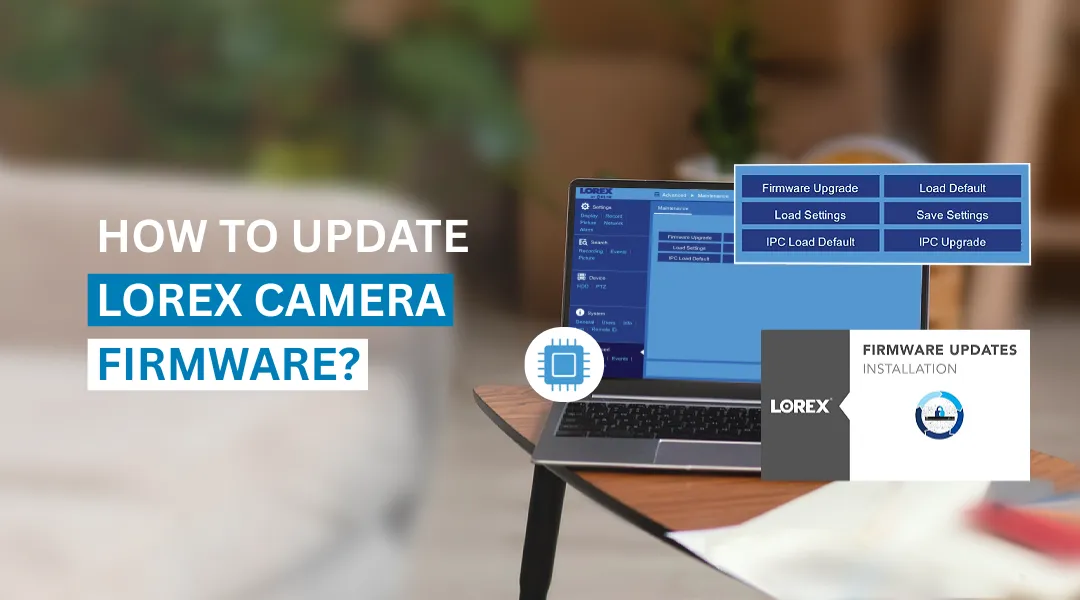
To update Lorex camera firmware: open the Lorex app, recorder menu, or web interface → go to Settings > Firmware/System Update → check for and install the latest version → let the device restart automatically. Most updates take 5–15 minutes.
Firmware updates improve performance, fix bugs, patch security issues, and add features, depending on your model. Checking regularly keeps your device compatible with the latest app and network settings. Regularly checking for a Lorex Camera Firmware Update helps keep your camera or recorder compatible with supported apps and network settings. This guide explains how to check your current firmware, prepare your device, install a compatible update, and troubleshoot common update problems.
Why You Should Update Your Lorex Camera Firmware?
Updating your Lorex camera firmware can help improve device performance, fix software bugs, and maintain compatibility with supported features. The benefits depend on your camera or recorder model and the firmware version available.
- It can help fix bugs and system glitches
- It fixes software bugs and improves system stability.
- It patches known security vulnerabilities when included in the release.
- It can add new features or improve existing ones.
- It keeps the camera compatible with the latest Lorex app and connected devices.
Keeping firmware current maintains your camera’s security, performance, and app compatibility.
How to Prepare Before Updating Lorex Camera Firmware?
Prepare your device first to avoid update failures. Follow these checks before starting:
- Make sure your camera or recorder has a stable connection before starting an online firmware update. An interrupted connection can cause the download or installation to fail.
- Keep your camera or recorder connected to a reliable power source throughout the firmware update. If your recorder supports a UPS (Uninterruptible Power Supply), it can help protect against unexpected power interruptions. Avoid switching off or disconnecting the device while the update is in progress unless the official instructions tell you to do so.
- Use only official Lorex firmware files. Third-party firmware can introduce malware or brick the device.
- Confirm your exact model number first. Firmware files are model-specific—installing the wrong one can cause errors or damage the device.
- Do not turn off, unplug, or restart the camera or recorder while the firmware is installing. Wait for the update to finish and follow any on-screen instructions.
Checking the Current Firmware Version
To check your current firmware version: open your device’s Settings > System Information > About Device.
Open your Lorex camera or recorder through the supported app, recorder interface, or desktop software. Depending on your model, look for Device Settings, System Information, About Device, or a similar section to find the installed firmware version.
The information that can be found on this page includes:
- Firmware version.
- Device model number.
- System build.
Compare your version against the latest listed on Lorex Support for your exact model. If a newer version exists, install it.
Downloading the Latest Firmware File
Some Lorex devices update automatically through the app or recorder; others require manual installation via the Lorex Support website.
To download firmware manually: go to Lorex Support > search your exact model > open its product page > find the Downloads/Firmware section. Firmware files can be model-specific, so confirm the exact device model before downloading or installing a file.
Once you have located your device:
1. Go to the “Downloads” or “Firmware” section.
2. Look for the latest firmware version available.
3. Download the file onto your computer or storage device.
Be sure to read any instructions or information that are available alongside the firmware, as these can contain useful information.
Also, ensure that the lorex security camera firmware matches your device model. Installing an incompatible firmware file may cause update errors or device problems. Always confirm your exact Lorex model and follow the official firmware installation instructions before starting the update.
Backing Up Camera Settings
Back up your configuration before updating, in case the update resets any settings.
To do this, first, navigate your system’s settings menu via the recorder or the application itself. In the Lorex Home app: Settings > Advanced > Configuration Backup. In the NVR web interface: Maintenance > Backup Config. Save the current settings in a safe location, which could be a USB drive, storage, cloud storage, etc. according to the device in use. If a configuration backup is not available, record important settings such as:
- Network settings (IP, WiFi, etc.)
- Recording schedules
- Motion detection settings
- User accounts and access permissions
Having these details in mind would be very helpful in the future if you ever need to restore your system.
A backup lets you quickly restore your settings if the update resets them. If your model doesn’t support backups, note down your network, recording, and motion-detection settings manually first.
How to Update Lorex Camera Firmware?
Once you have prepared your Lorex cameras for the firmware update process, below are some steps you can follow to initiate the update process:
- Open your Lorex app, recorder menu, or web interface.
- Go to Settings > Firmware/System Update.
- Select “Check for Update,” or upload the firmware file manually if required.
- Confirm and start installation—do not power off the device.
- Wait for the device to restart, then reopen the app to confirm the live feed is working.
- Updates typically take 5–15 minutes. Don’t power off or disconnect the device during this time.
- You must wait until the process is complete before accessing the camera or making any changes.
The device restarts automatically when done. Reopen the app and confirm the live feed loads correctly.
Troubleshooting Issues with Lorex Security Camera Firmware Update Process
Most firmware update problems have simple fixes and don’t require a technician. Here are the most common issues and how to solve them:
Why is my Lorex firmware update not starting?
Most start-up failures are caused by a weak connection or a disabled update setting. Try these fixes:
Check your connection—use a wired Ethernet connection if your device supports it, since it’s more stable than Wi-Fi for updates.
Restart the device and check for the update again—this clears most temporary connection or software errors.
Check whether your device supports automatic firmware updates and whether the feature is enabled. If your model does not support automatic updates, follow its manual update instructions. If your problem is not resolved, try logging out of your system or application. There are instances when errors can prevent your update check.
Why does Lorex firmware update fail?
Update failures during installation are usually caused by an incorrect firmware file, weak connection, or low storage. Check each of these:
Confirm the firmware file matches your exact device model—an incompatible file is the most common cause of installation failure.
Then, restart your system and try updating again. Sometimes, your system may be having problems that interrupt the update process.
If the firmware update fails, check your device’s available storage if the model requires storage for the update. Follow the manufacturer’s instructions before deleting recordings or files, especially if they contain important security footage.
It is also best to avoid multitasking or using the network heavily when doing the Lorex camera firmware update, as this could cause interruptions in the process.
Lorex Camera Not Working After Update
Most post-update issues are temporary. Start by restarting the camera or recorder.
If your problem persists, try to go back to your previously backed-up settings. Firmware updates sometimes reset or change configurations.
Make sure to re-check your network settings, camera feeds, and app connections. Most likely, the issue is just a small setting error. If none of the above options work, the final step is to reset the Lorex camera and follow the entire Lorex Setup process again from scratch. It is not the preferred solution, but it always fixes the underlying issue with the camera’s firmware.
System Freezes During the Update Process
- If the screen freezes during an update, don’t force a restart right away.
- Wait for a few minutes. Firmware updates take time, especially if the file size is large. Interrupting the firmware midstream can be counterproductive.
- If the update appears frozen for an unusually long period, check the instructions for your specific Lorex model before taking further action. Avoid forcing a restart unless Lorex recommends it. It is recommended that the device be shut down properly, if possible, rather than unplugging it.
- After the device restarts, check the installed firmware version and confirm whether the update completed successfully. In this case, you may need to repeat the update process. If the system is unresponsive again and again, it’s time to contact Lorex support for further troubleshooting. In this situation, you should not force it further.
Conclusion
Updating your Lorex camera firmware is essential for maintaining security, performance, and compatibility. By following the correct steps and keeping your system updated, you ensure reliable surveillance and long-term device efficiency.
FAQs
How often should I perform a Lorex camera firmware update?
It is always a good idea to look for updates every couple of months or enable automatic updates if this is supported by the device. Regular updates will keep the firmware of your lorex security camera optimized, secure, and compatible with the latest features.
Can I update Lorex camera firmware without internet?
In most cases, no. A stable internet connection is needed to download and install the updates. But some devices allow you to manually install the updates via a USB drive, though you need to first download the lorex camera firmware file.
What happens if I skip Lorex camera updates?
Skipping available firmware updates may leave known bugs or security issues unaddressed and can affect compatibility with supported apps or features. The impact depends on the specific update and device.
Do I need to reset my camera after the update?
Not usually. Most updates are done without the need to reset the device. However, if your device is acting funny after the update, you may need to reset Lorex camera and follow the setup instructions again.
Will updating the firmware delete camera settings?
In most cases, your settings will still be intact after updating the lorex camera firmware. However, unforeseen problems may arise, and this is the reason to always recommend backing up your settings before updating the lorex camera firmware.